Check-ins give managers and employees a structured way to have regular, meaningful conversations about goals, performance and wellbeing. This article shows you how to create a check-in for a team member in Your HR System.
1. Start a new check-in
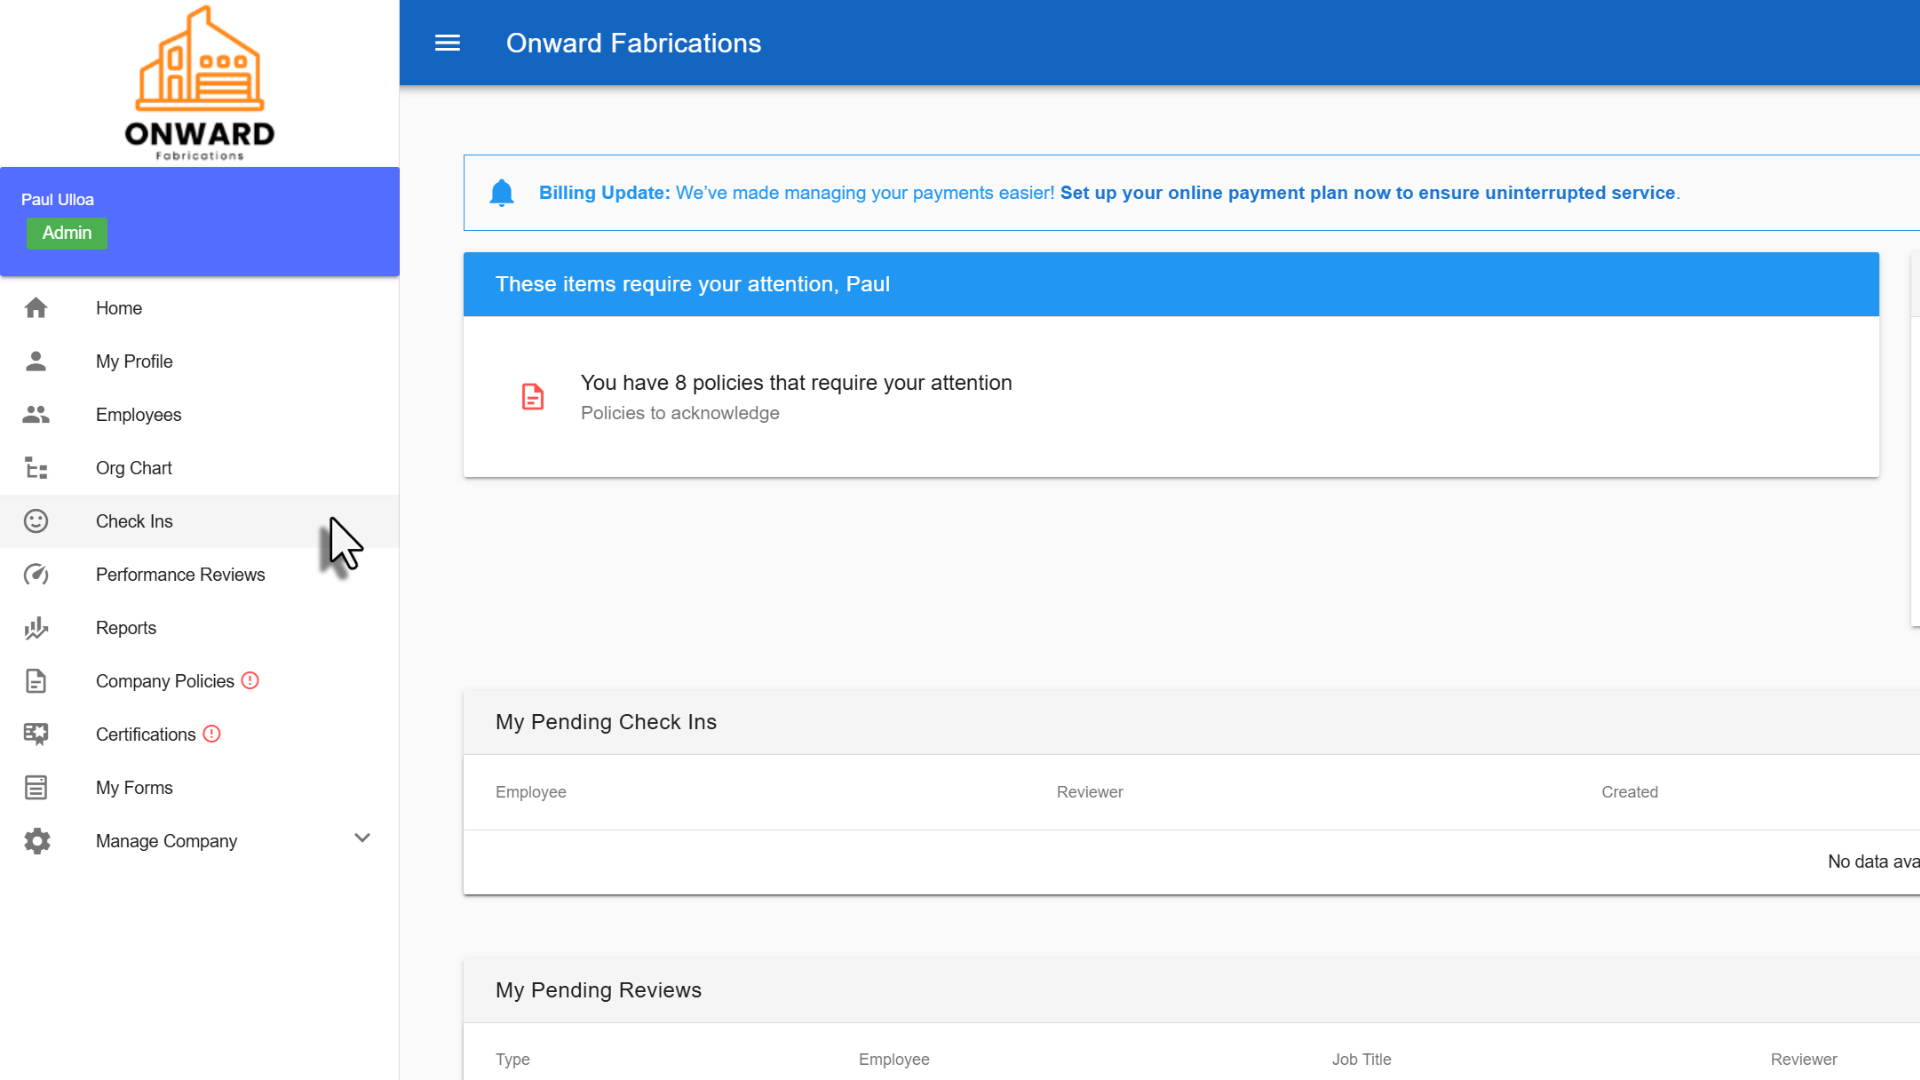
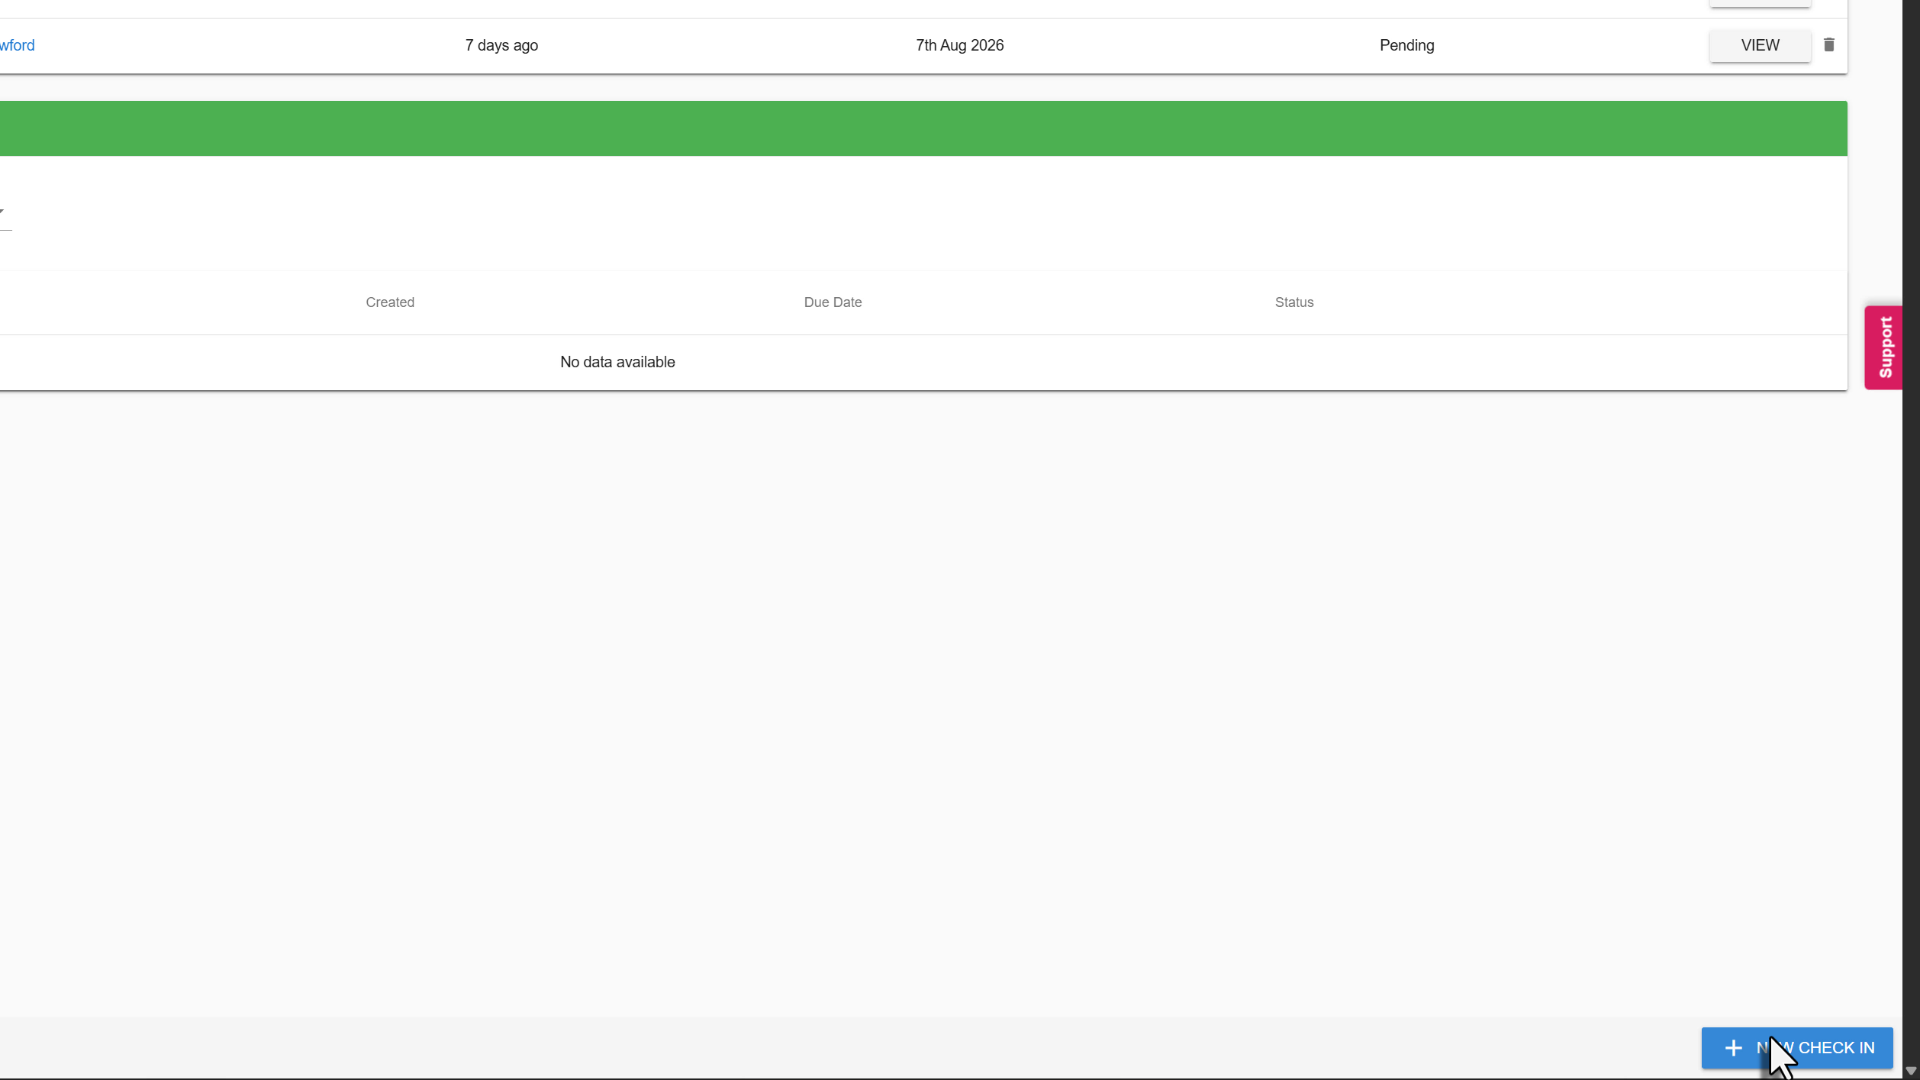
From the Home menu, select Check-ins. The Check-ins page shows all upcoming and completed check-ins for your team. Select New Check-in to begin.
2. Choose the employee and reviewer
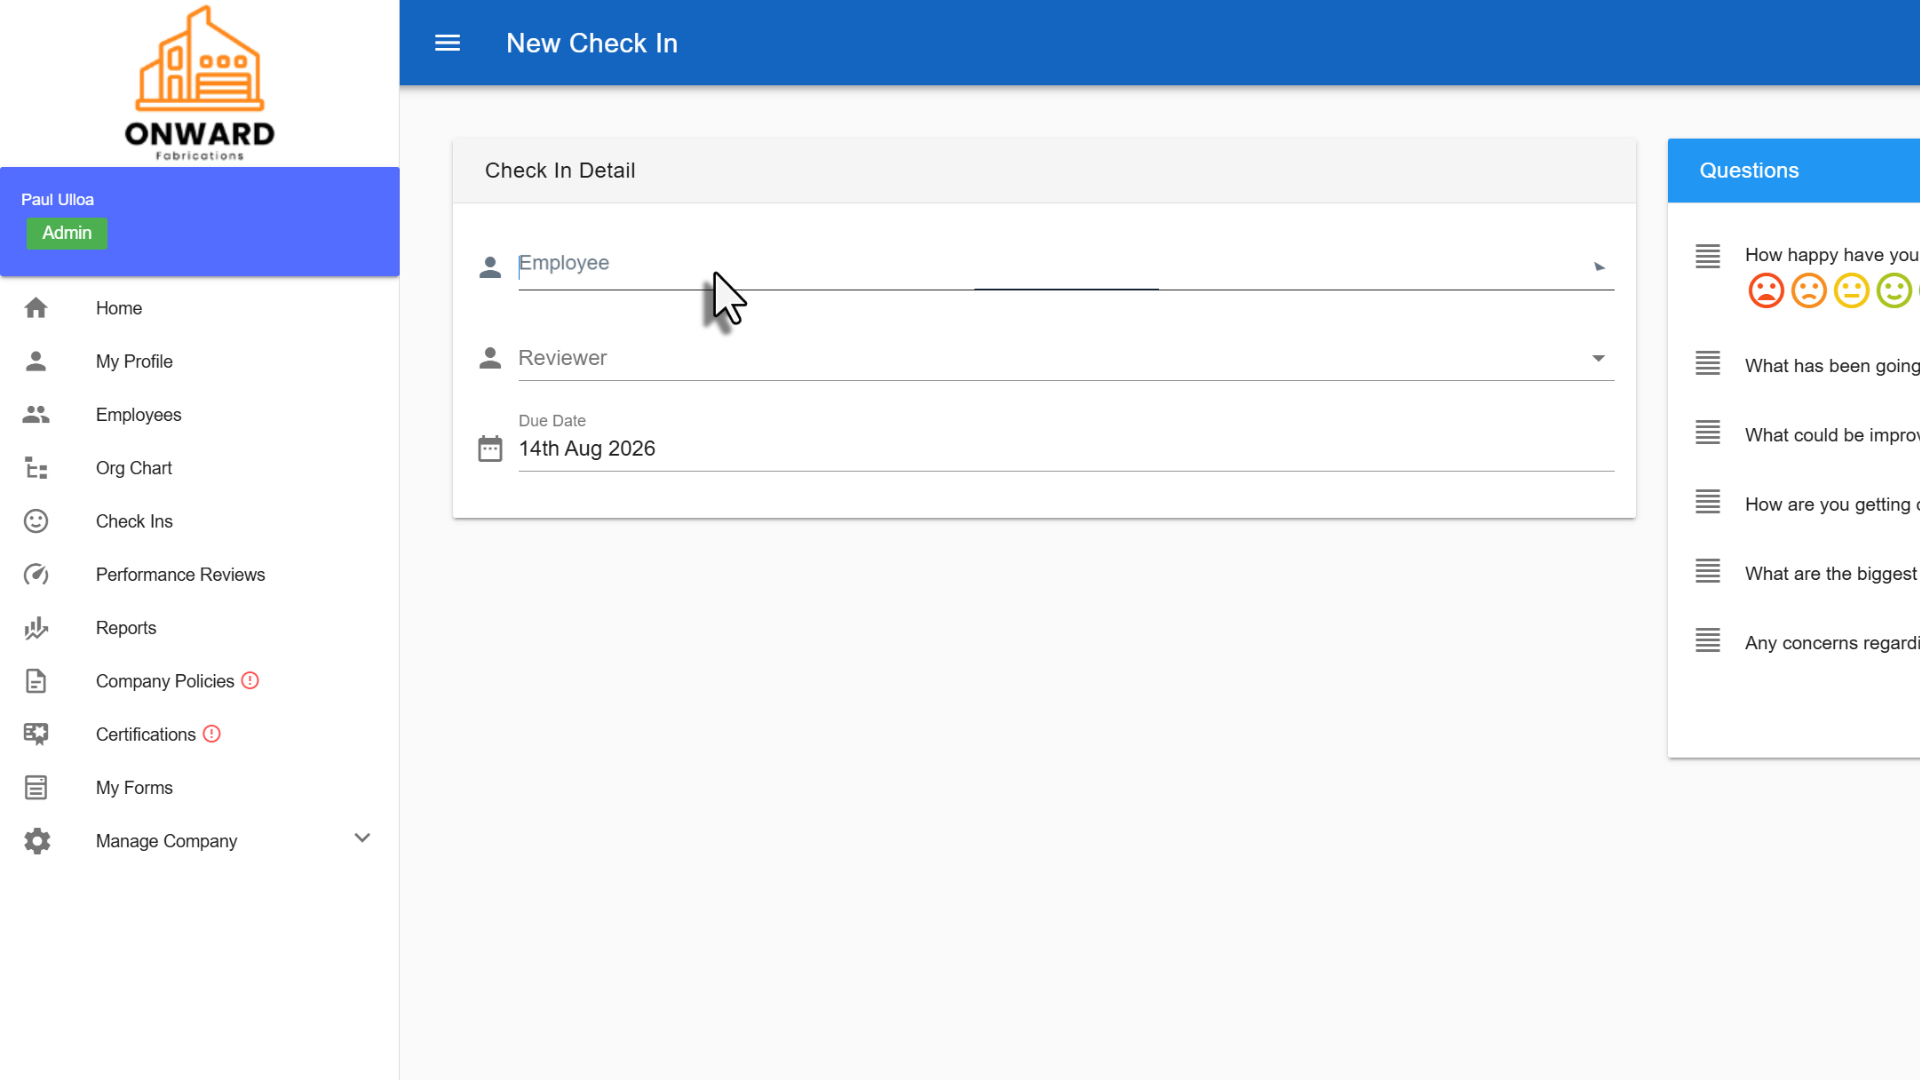
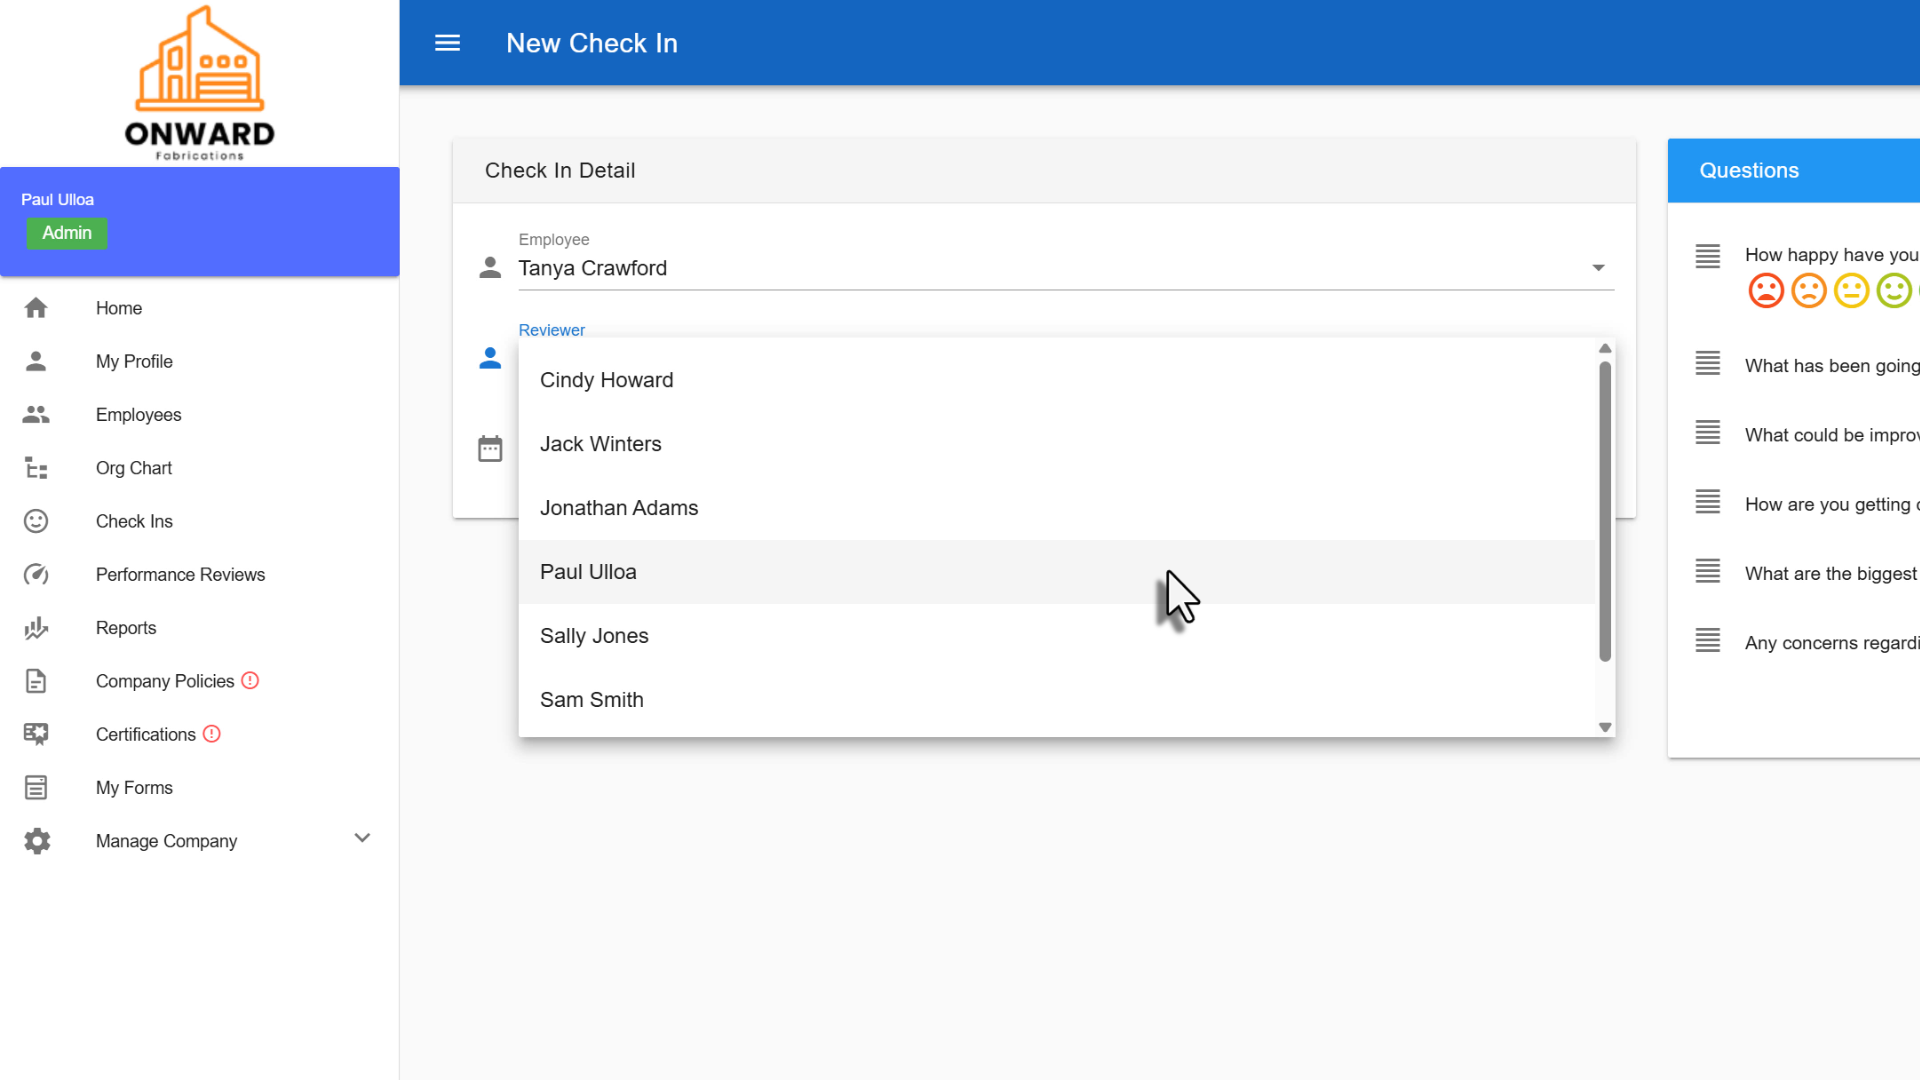
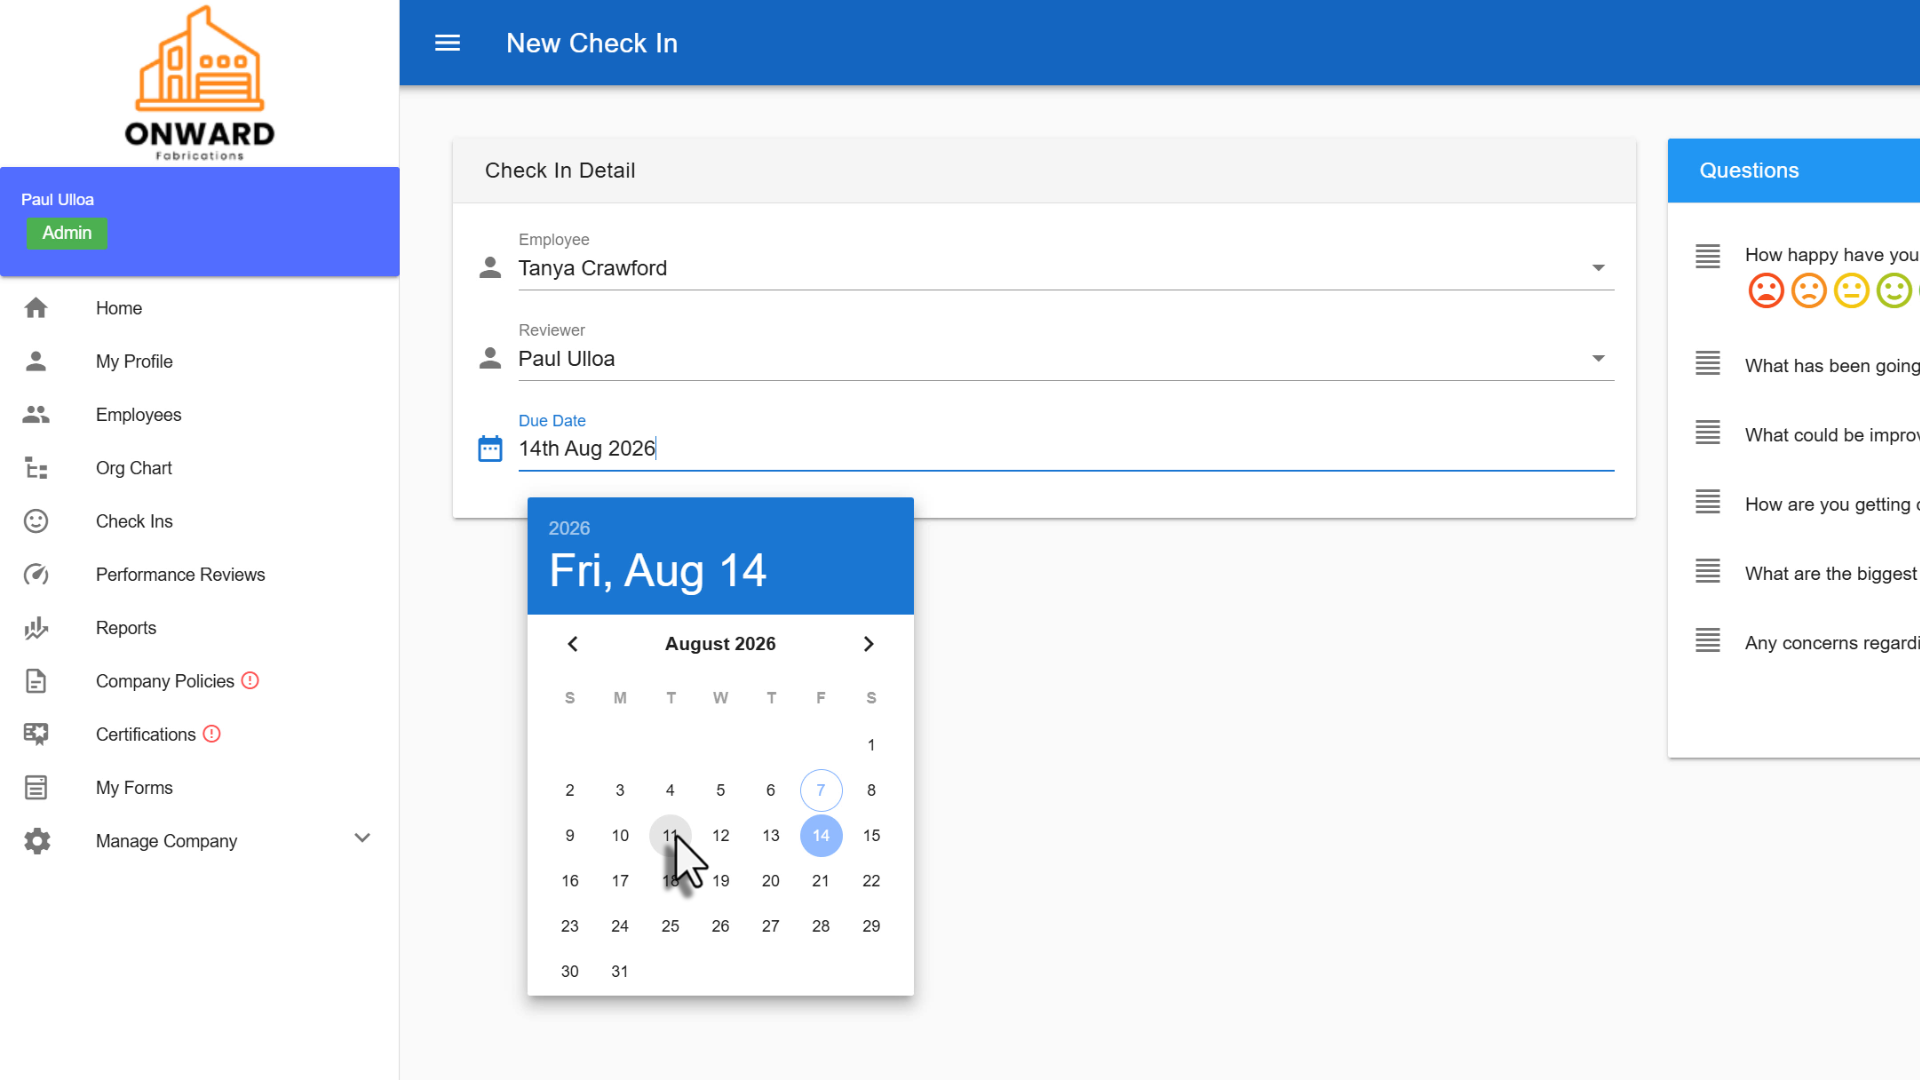
Choose the employee who will take part in the check-in. Their manager appears automatically as the reviewer, but you can update this if needed.
3. Set the check-in date
Select the date for the check-in.
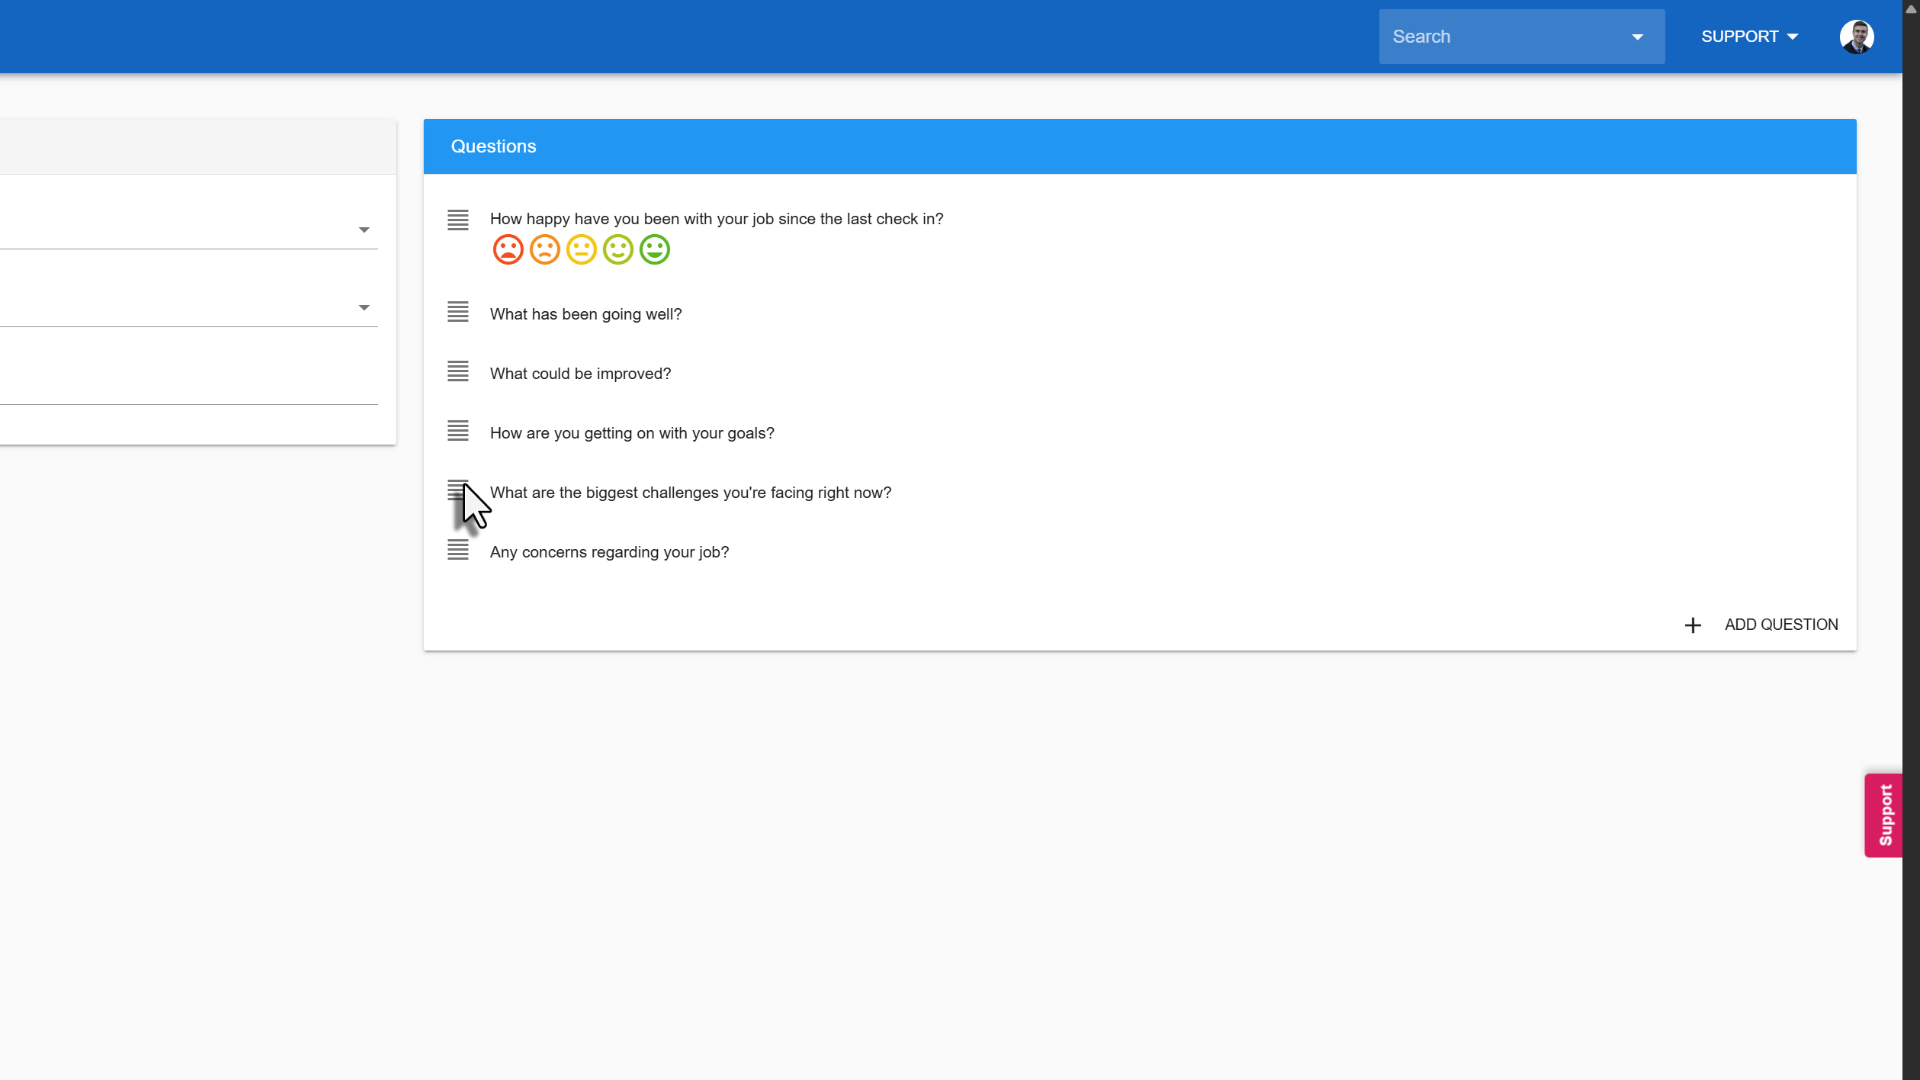
4. Review the check-in questions
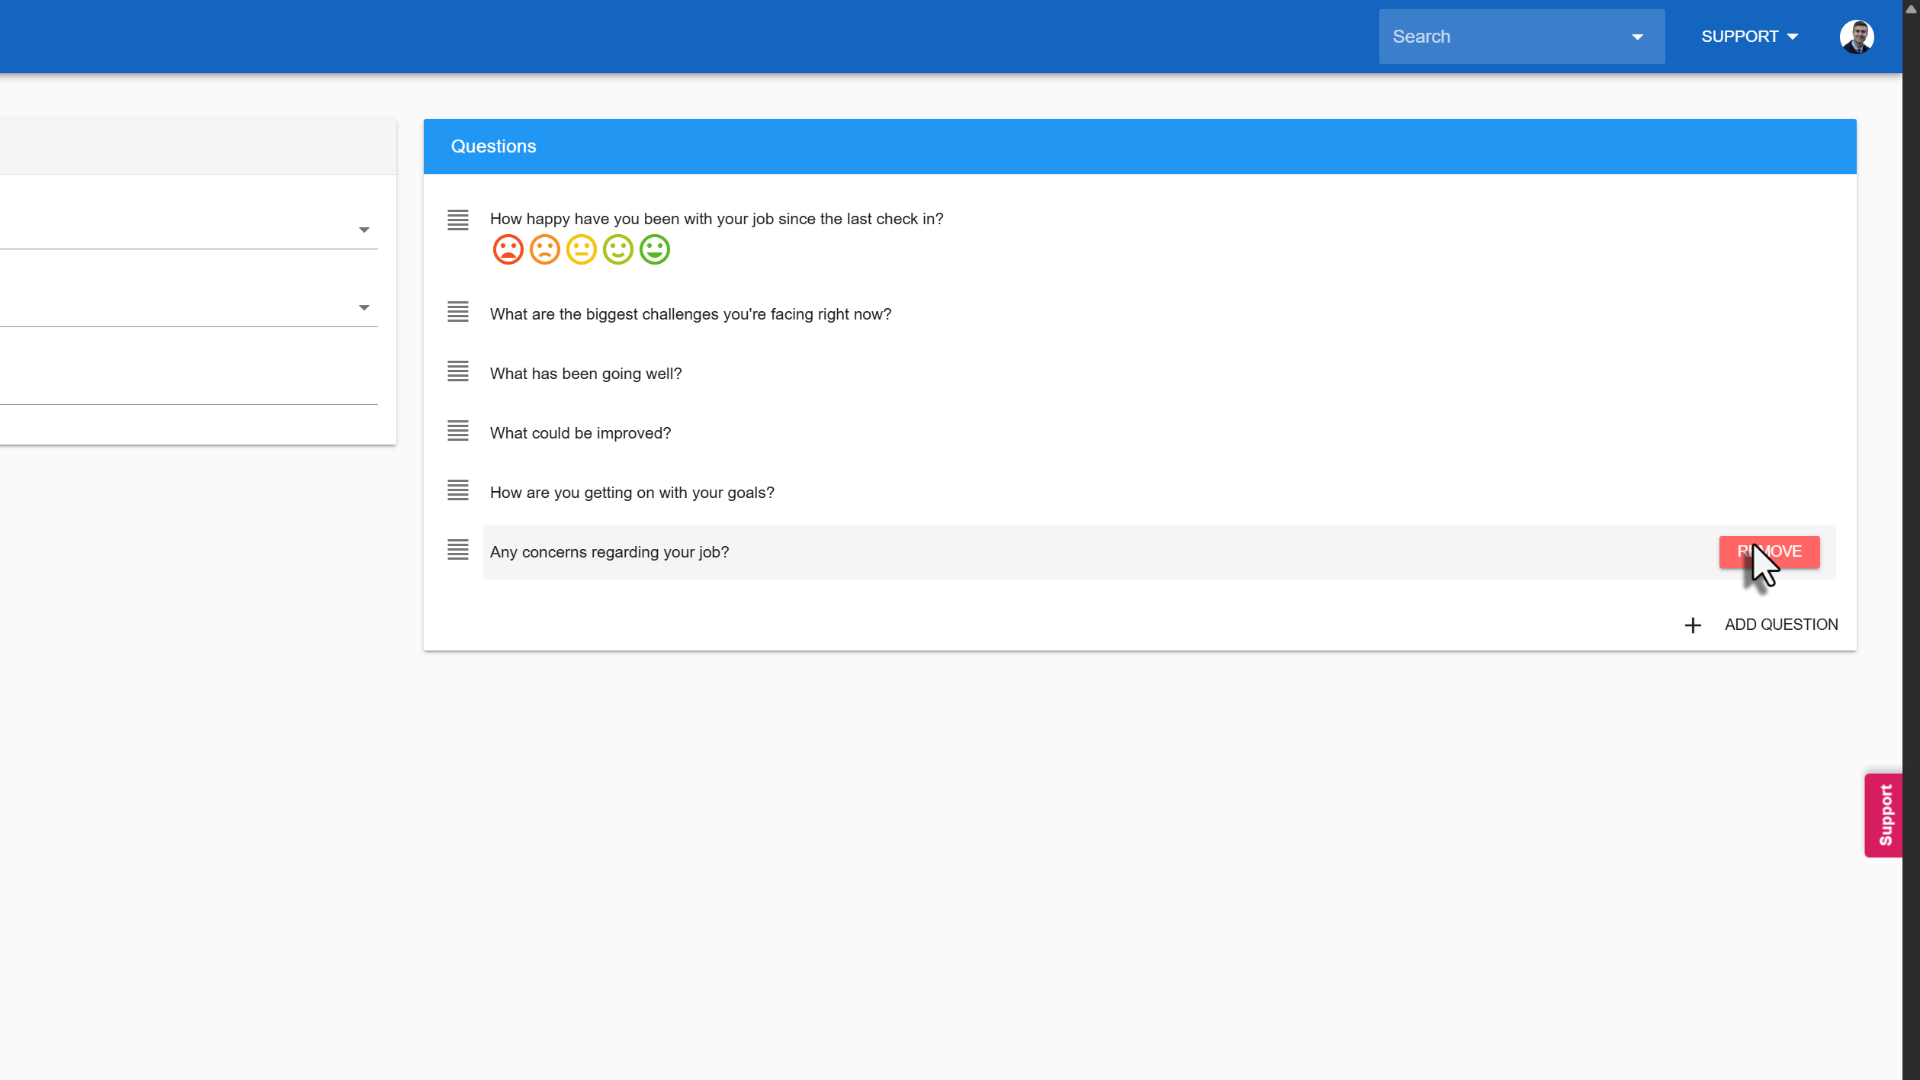
A list of standard check-in questions is already set up on the right-hand side. You can keep these as they are, or customise them by rearranging, removing, or adding your own.
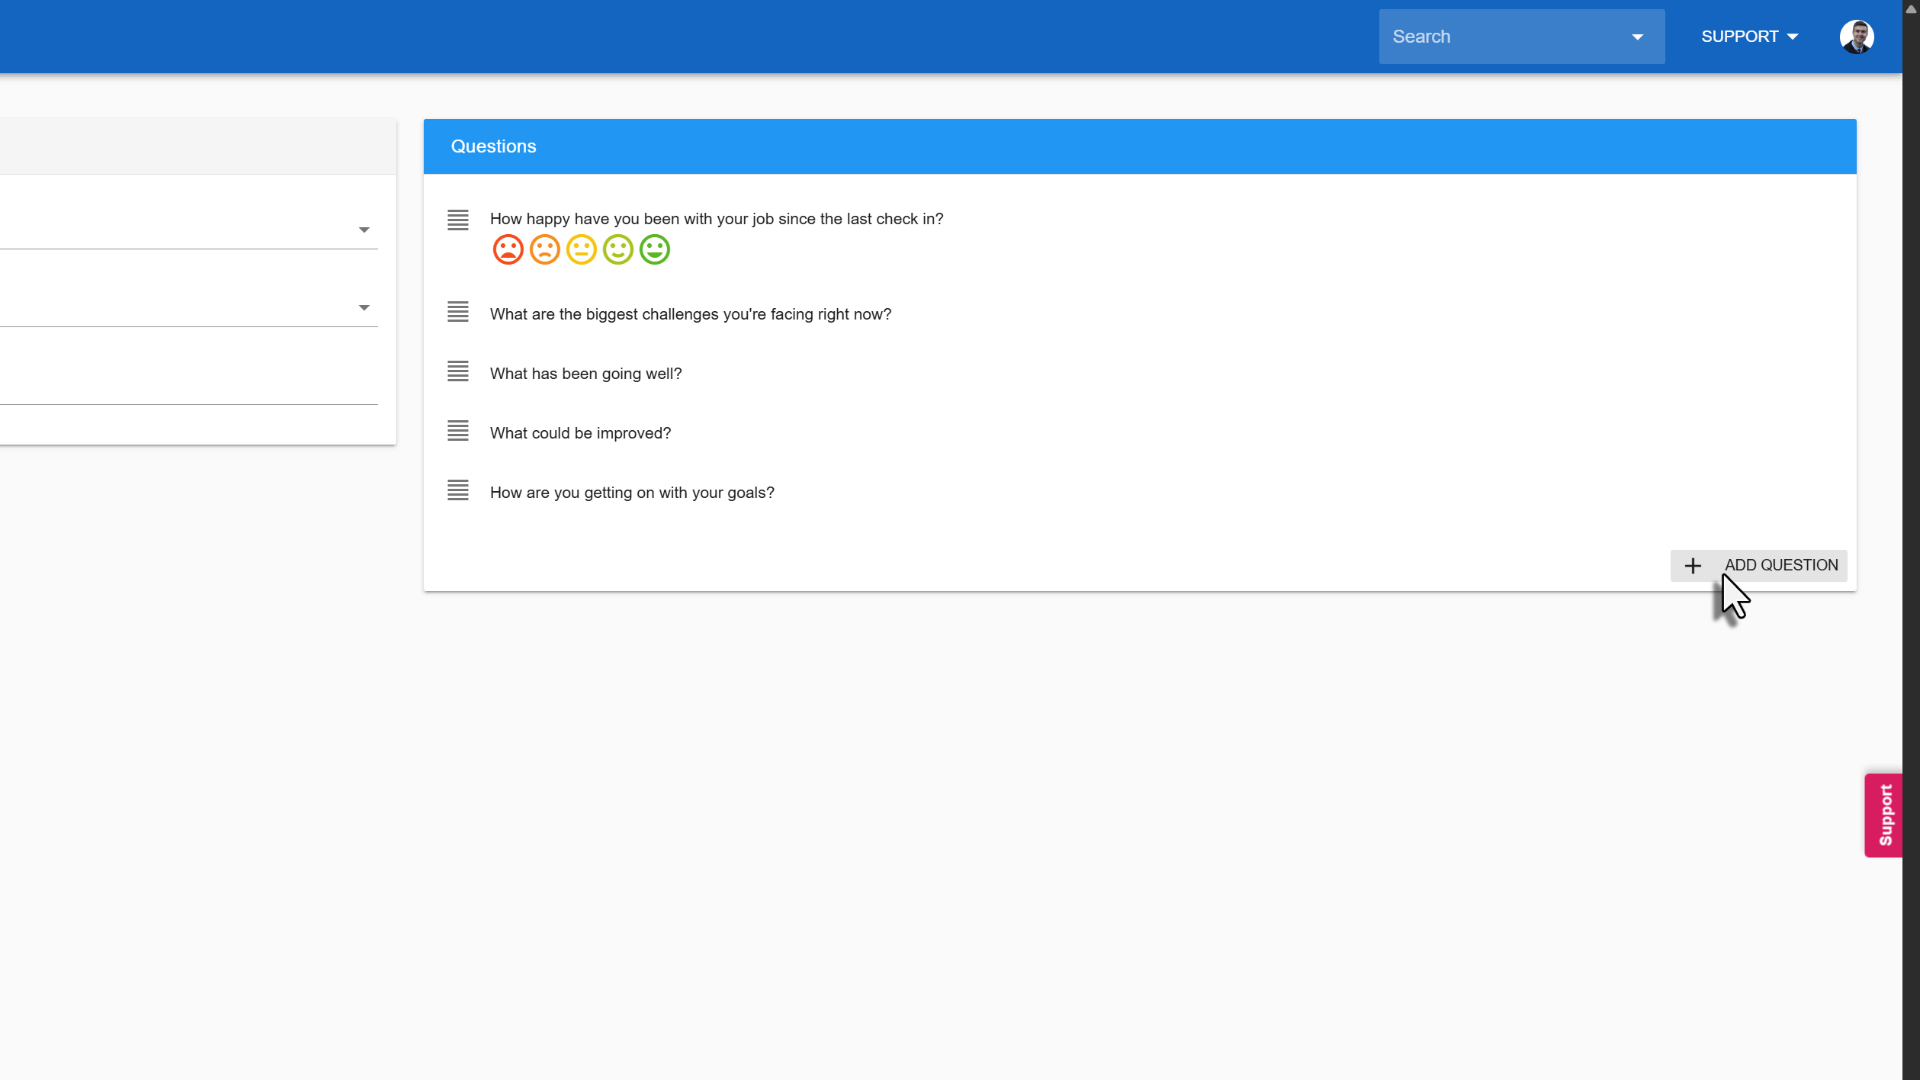
5. Add a custom question (optional)
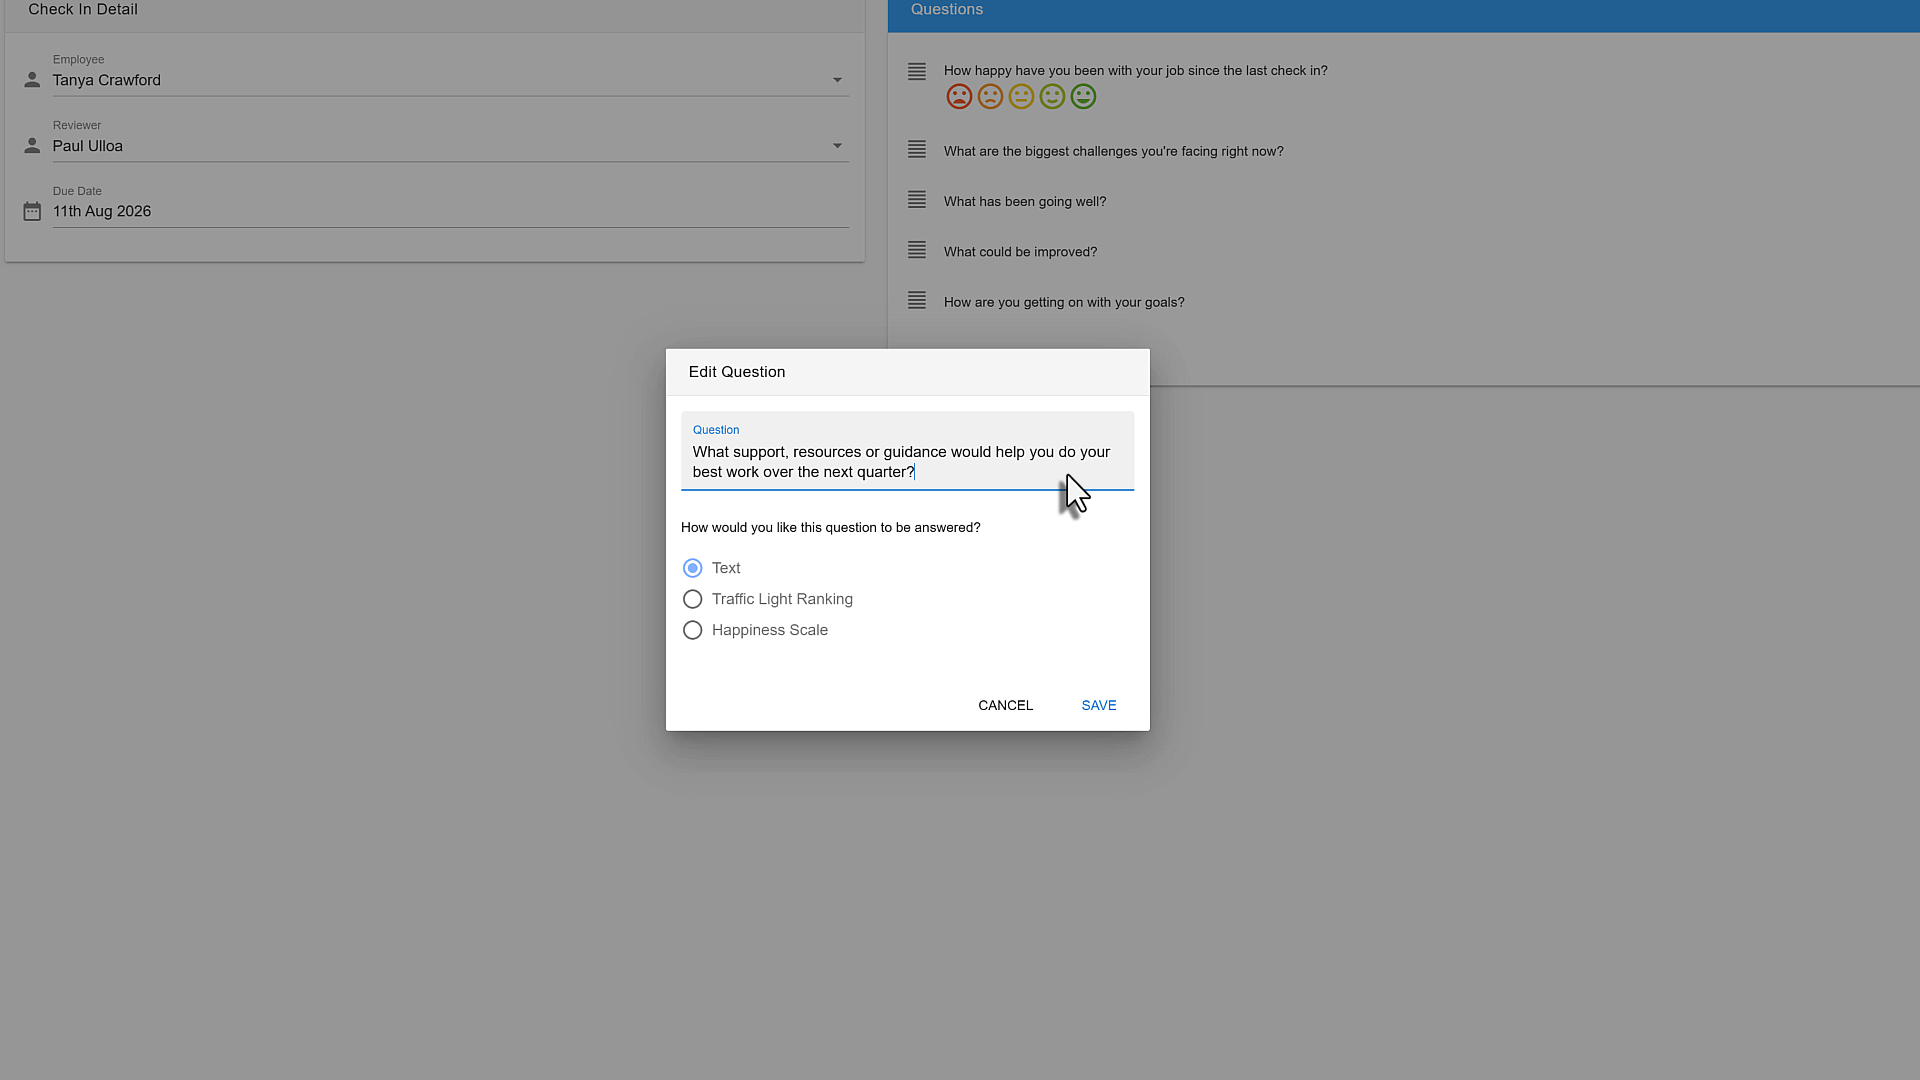
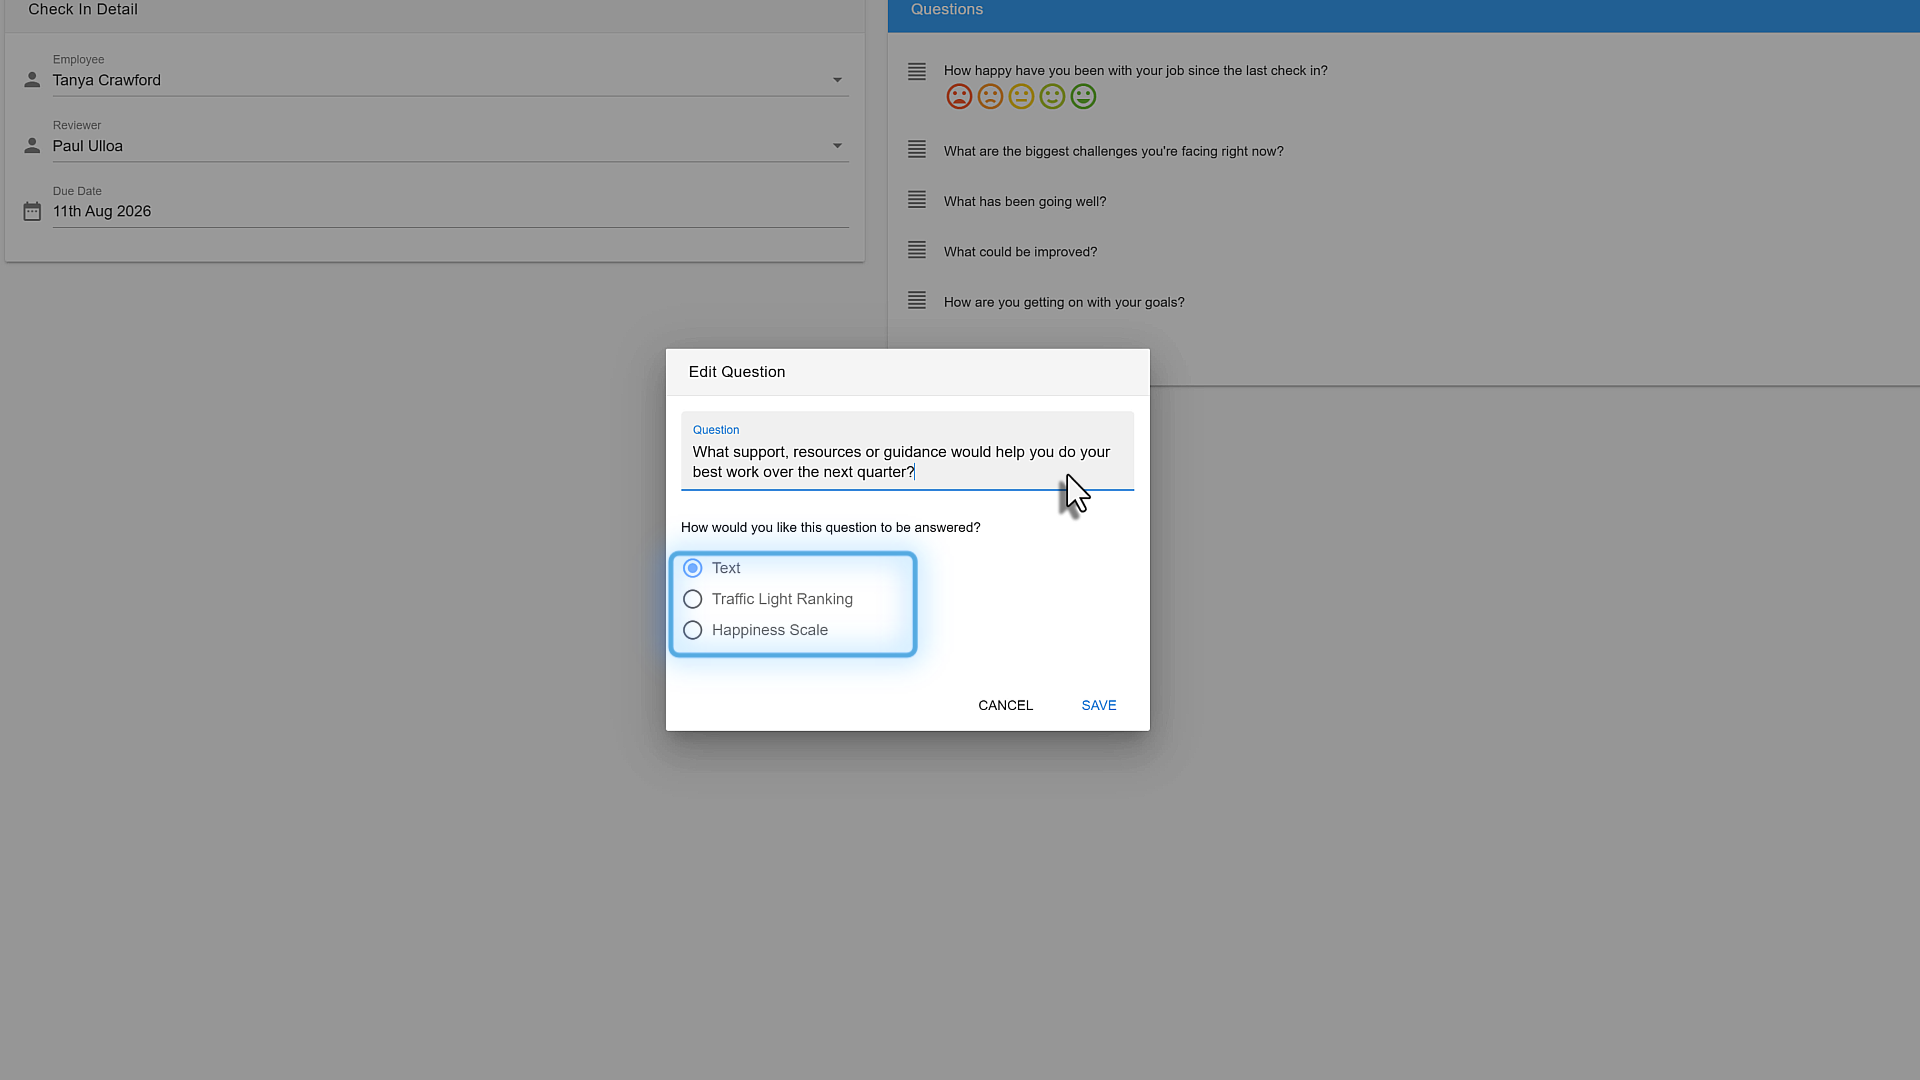
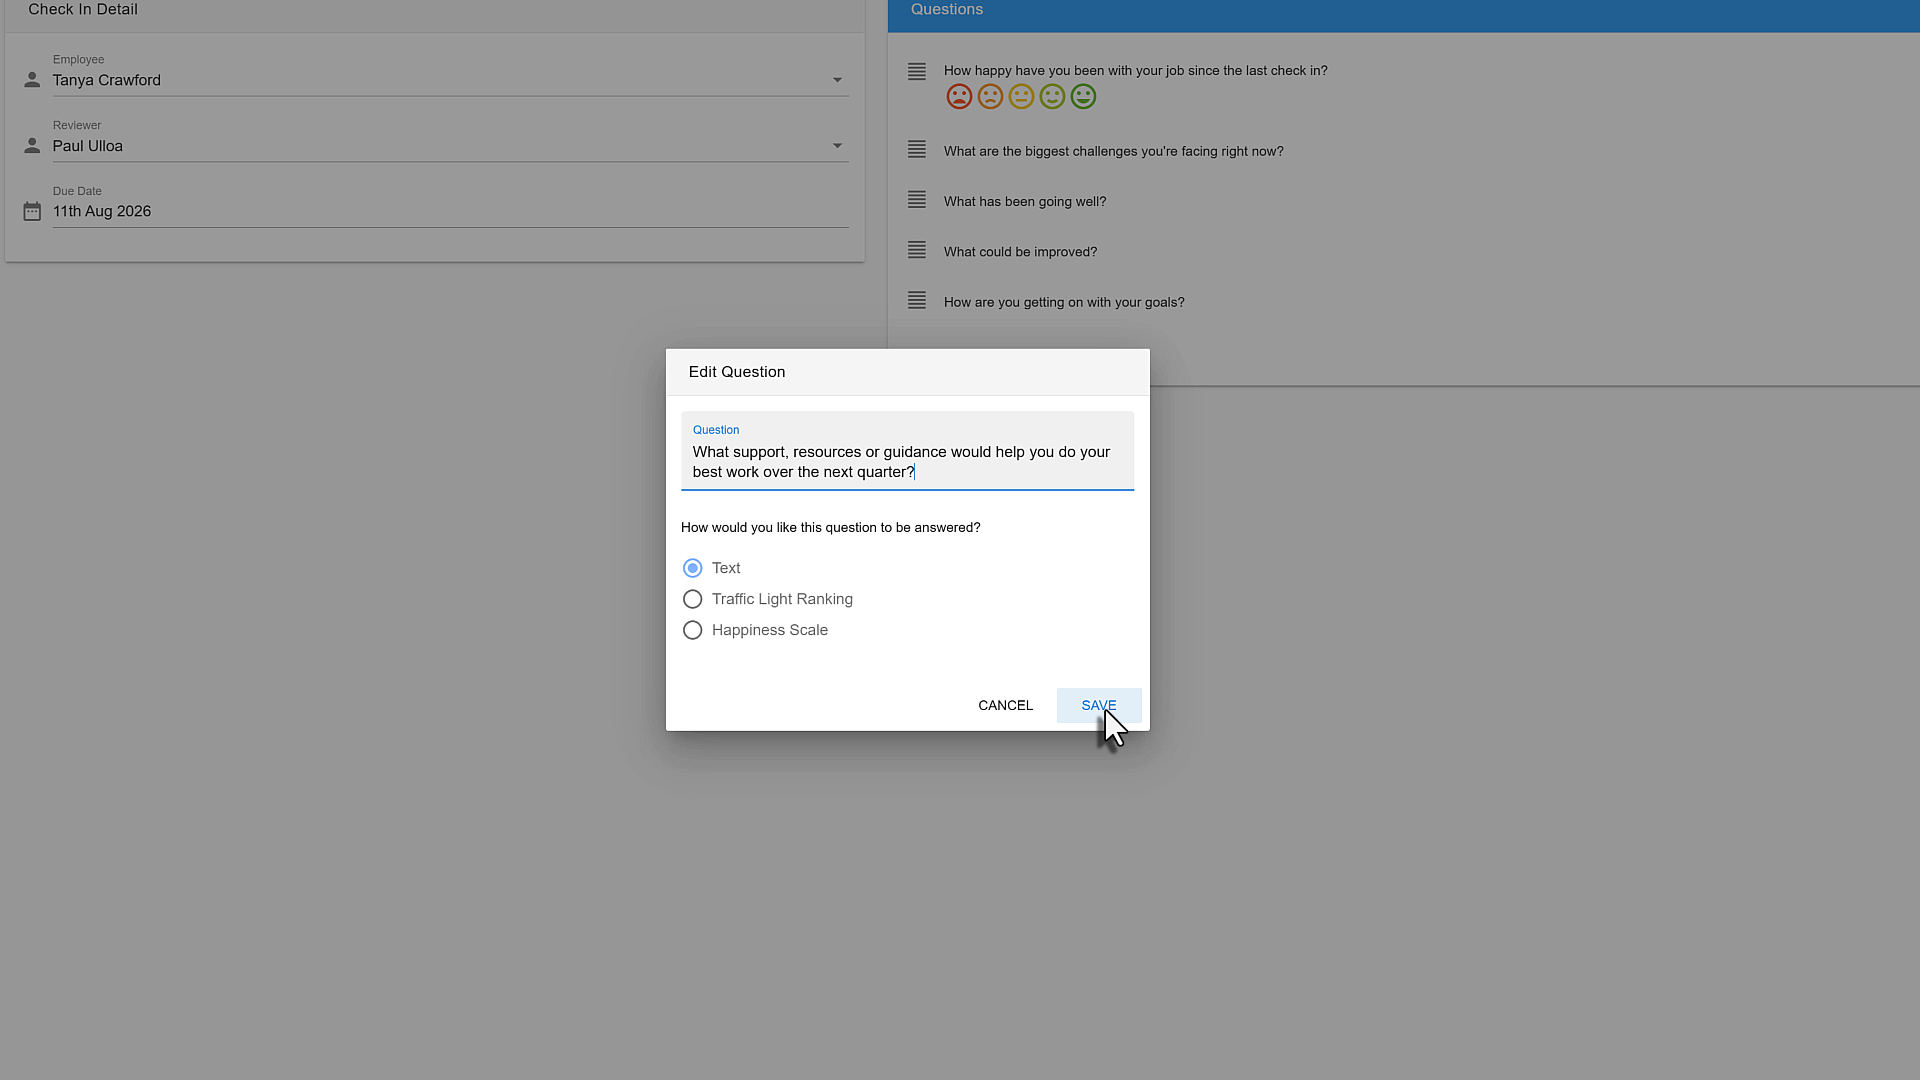
Select Add Question, enter your question, then choose a response type: text response, traffic light ranking or happiness scale. Select Save once you're done.
6. Create the check-in
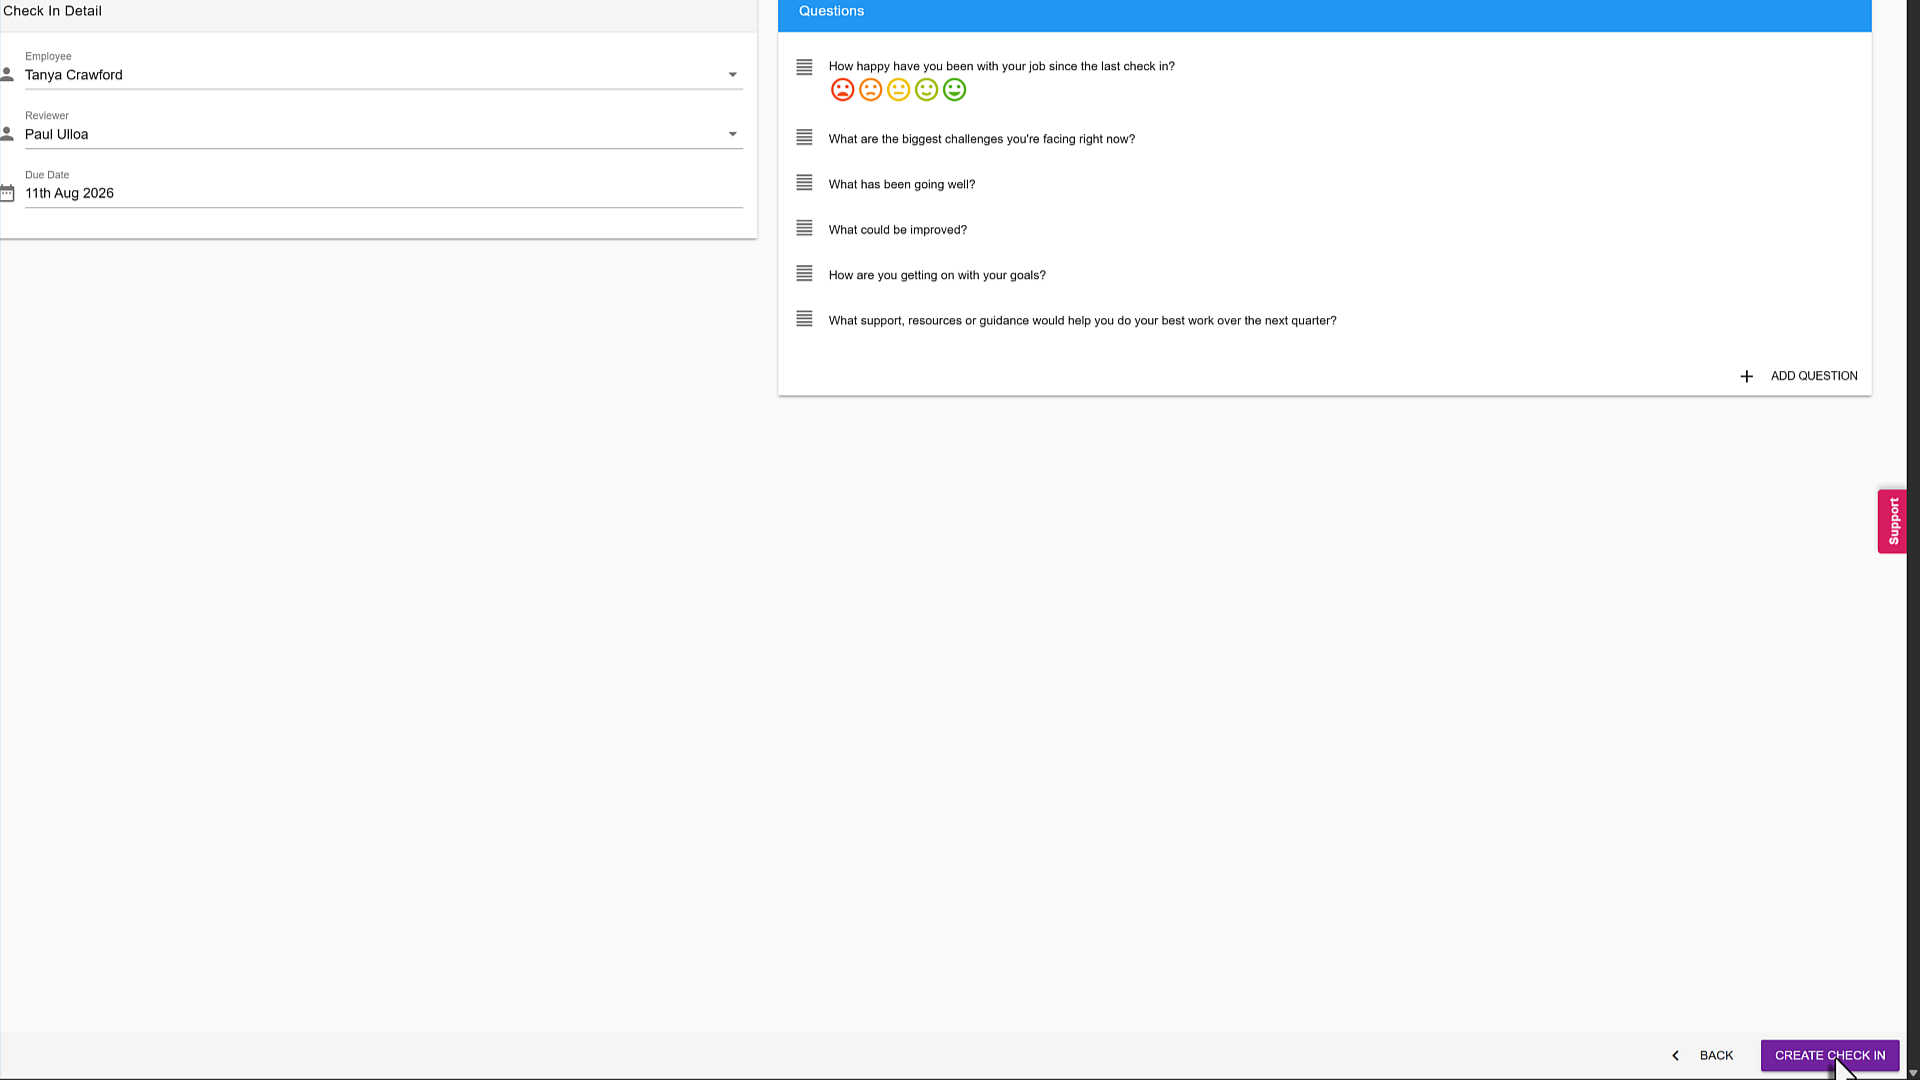
Select Create Check-in, then OK to finalise. The employee will be notified by email.
Viewing responses and adding comments
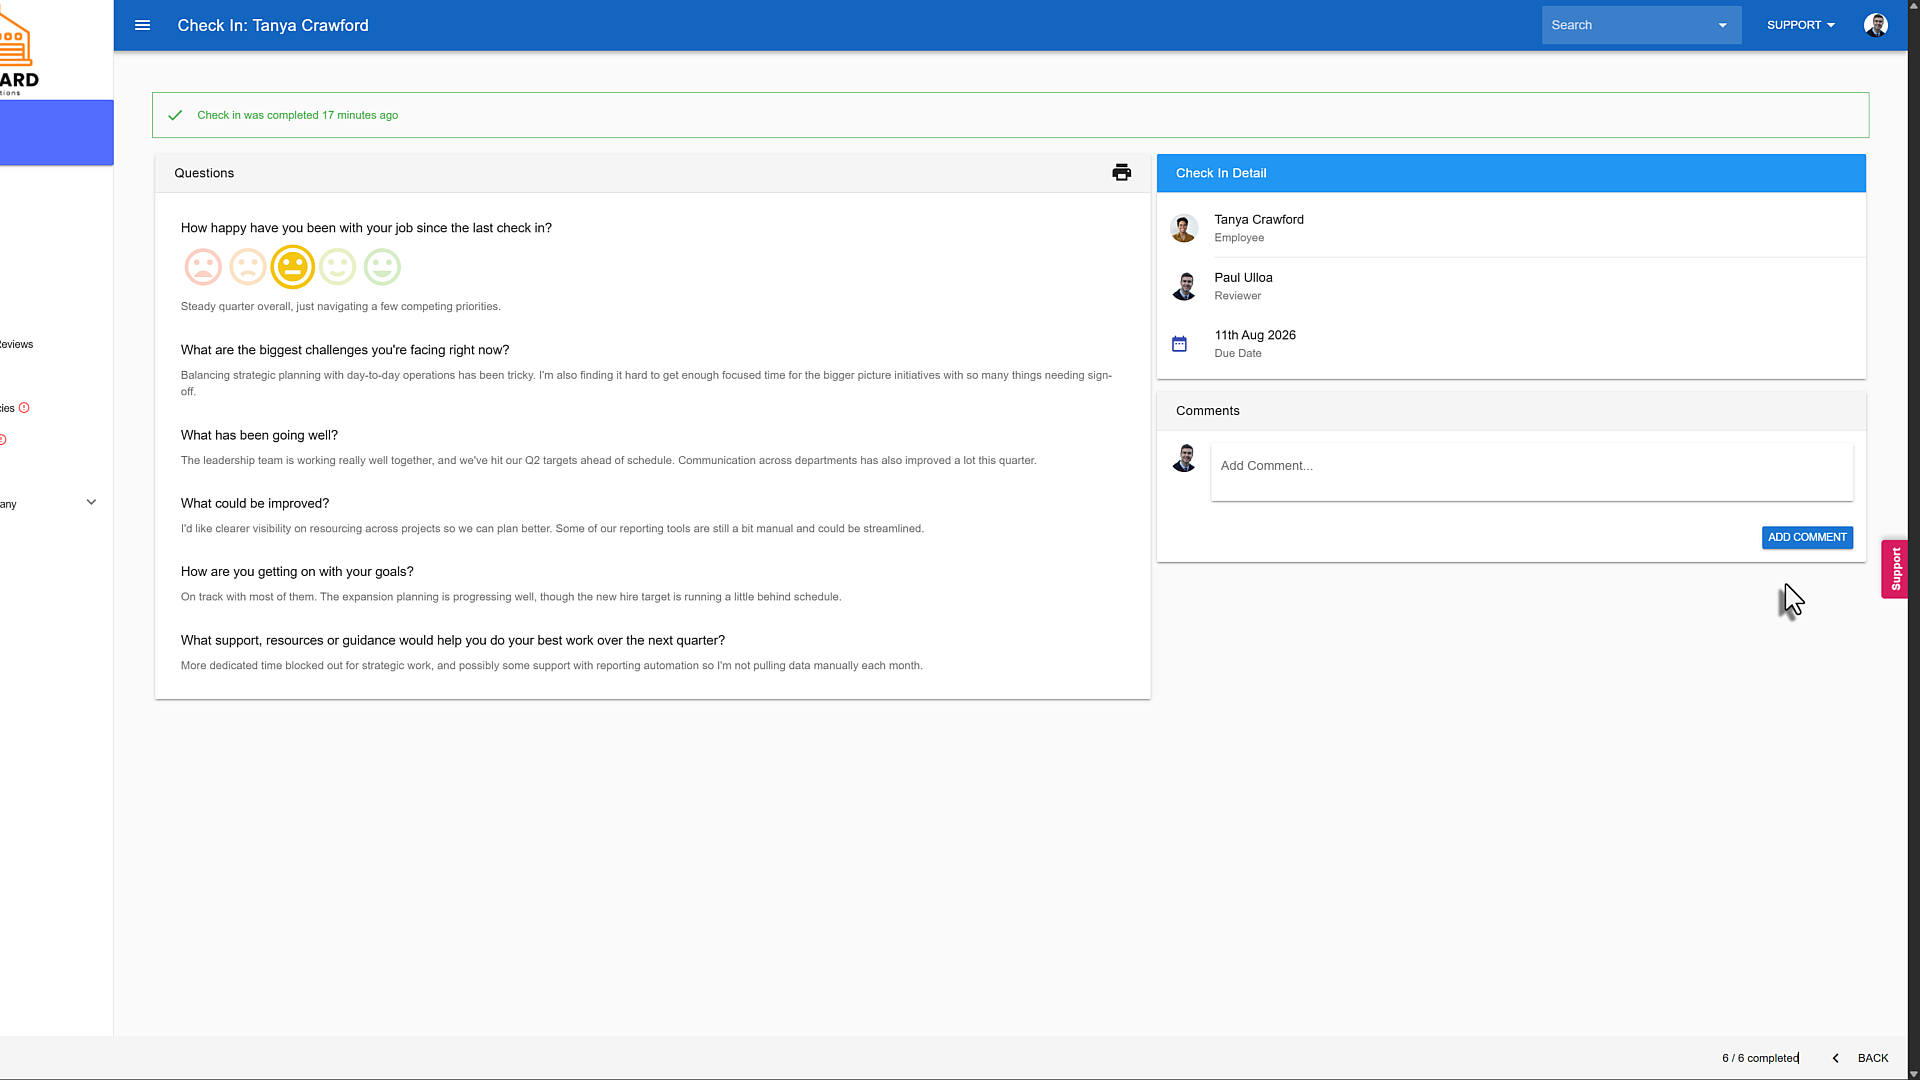
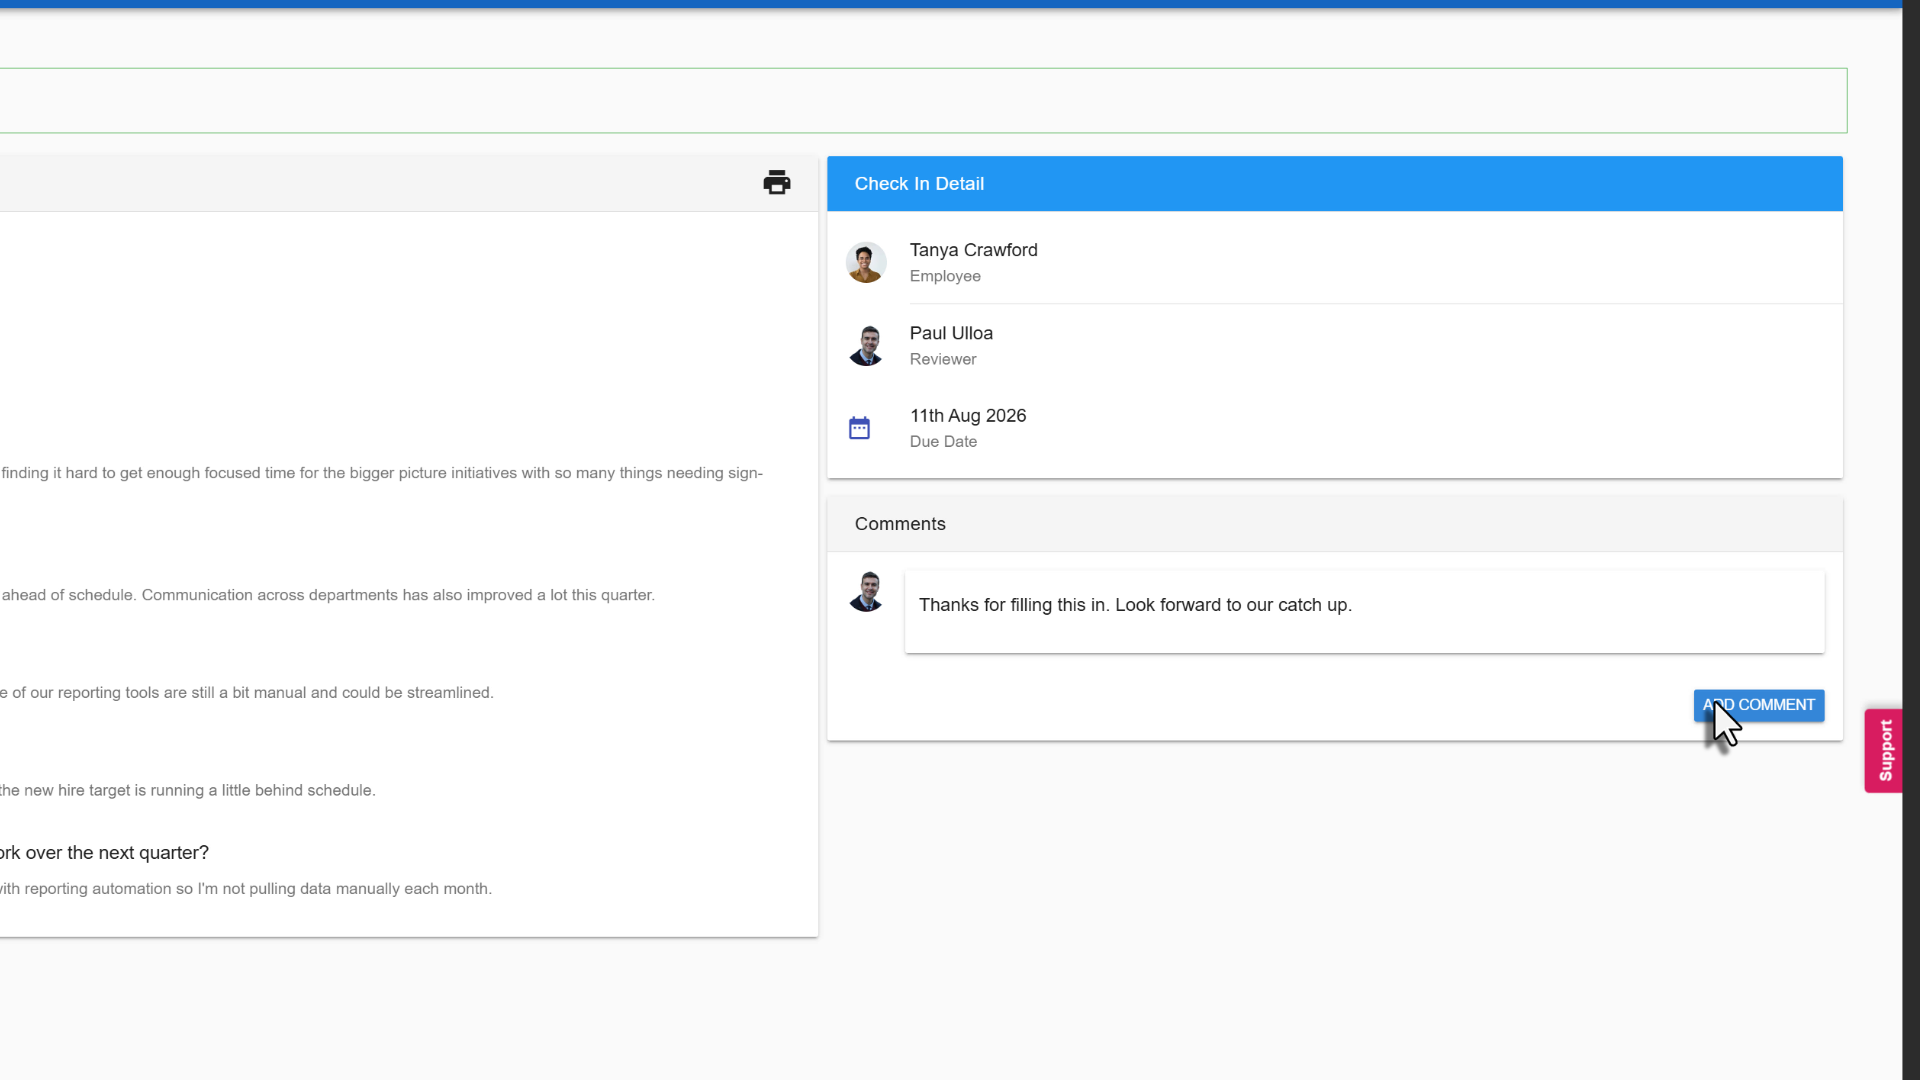
Once the employee has completed their check-in, you can view their responses from the check-in page. You can also add comments if needed.
Was this article helpful?
That’s Great!
Thank you for your feedback
Sorry! We couldn't be helpful
Thank you for your feedback
Feedback sent
We appreciate your effort and will try to fix the article